Explore Categories
29 Categories


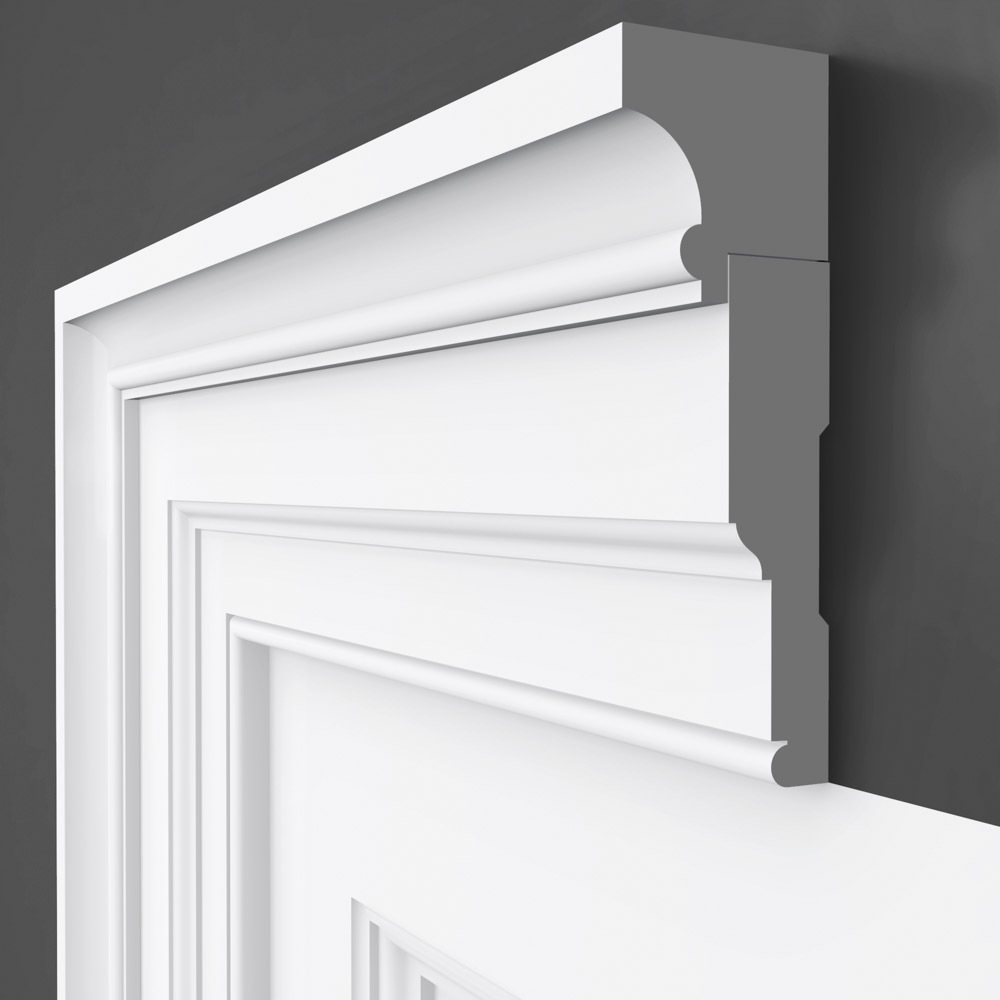
612
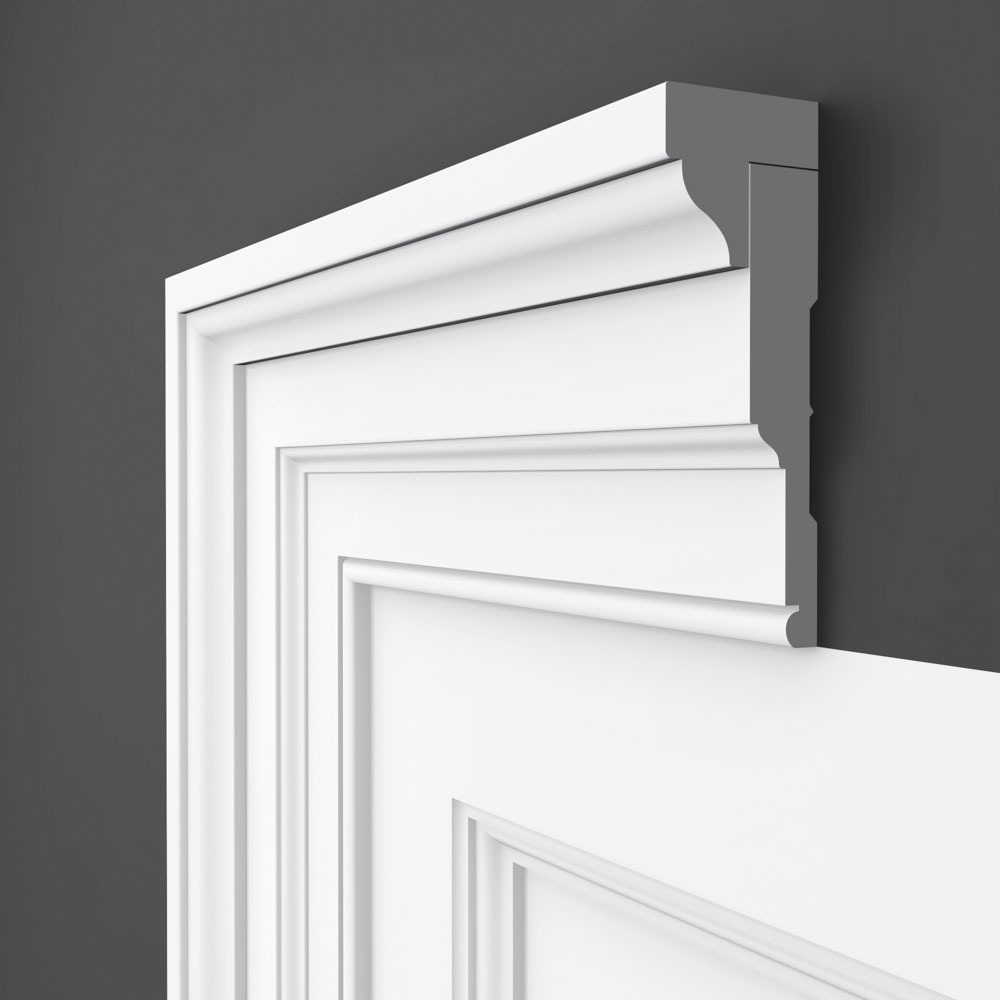
Casing

133
Backband

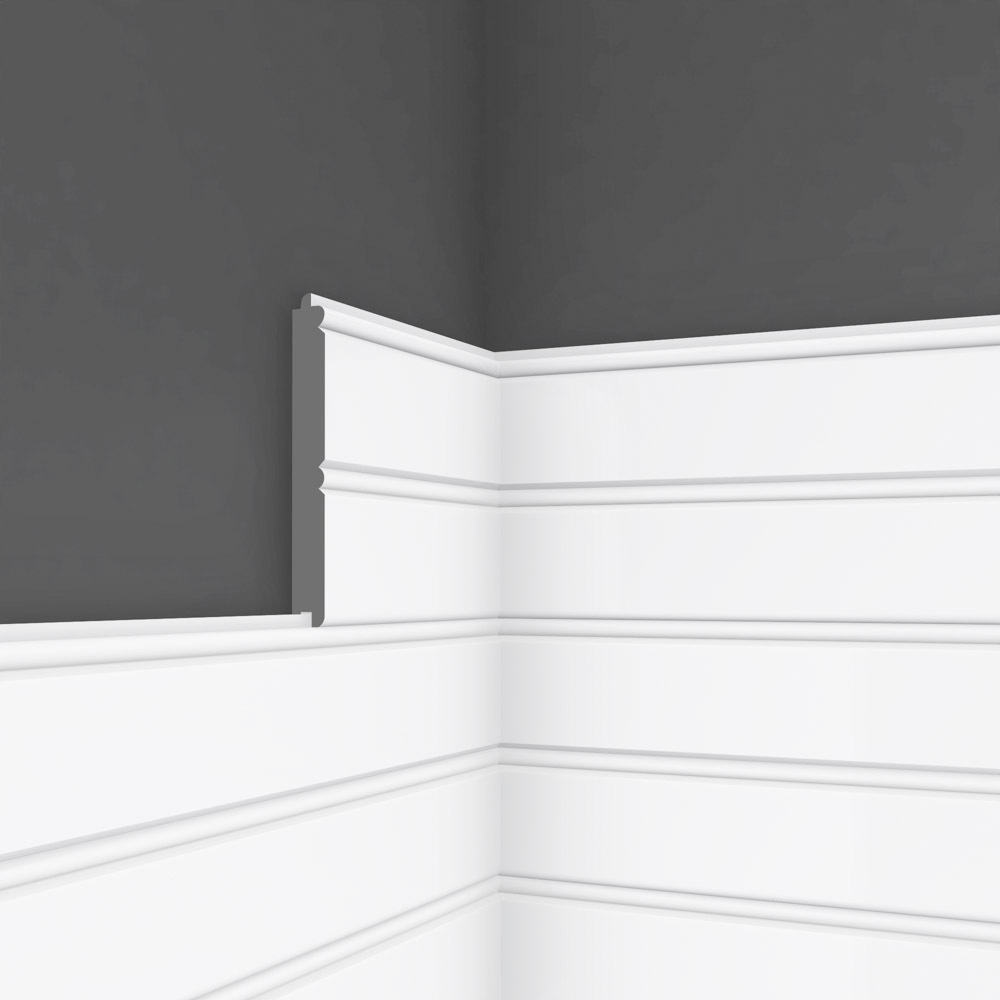
319
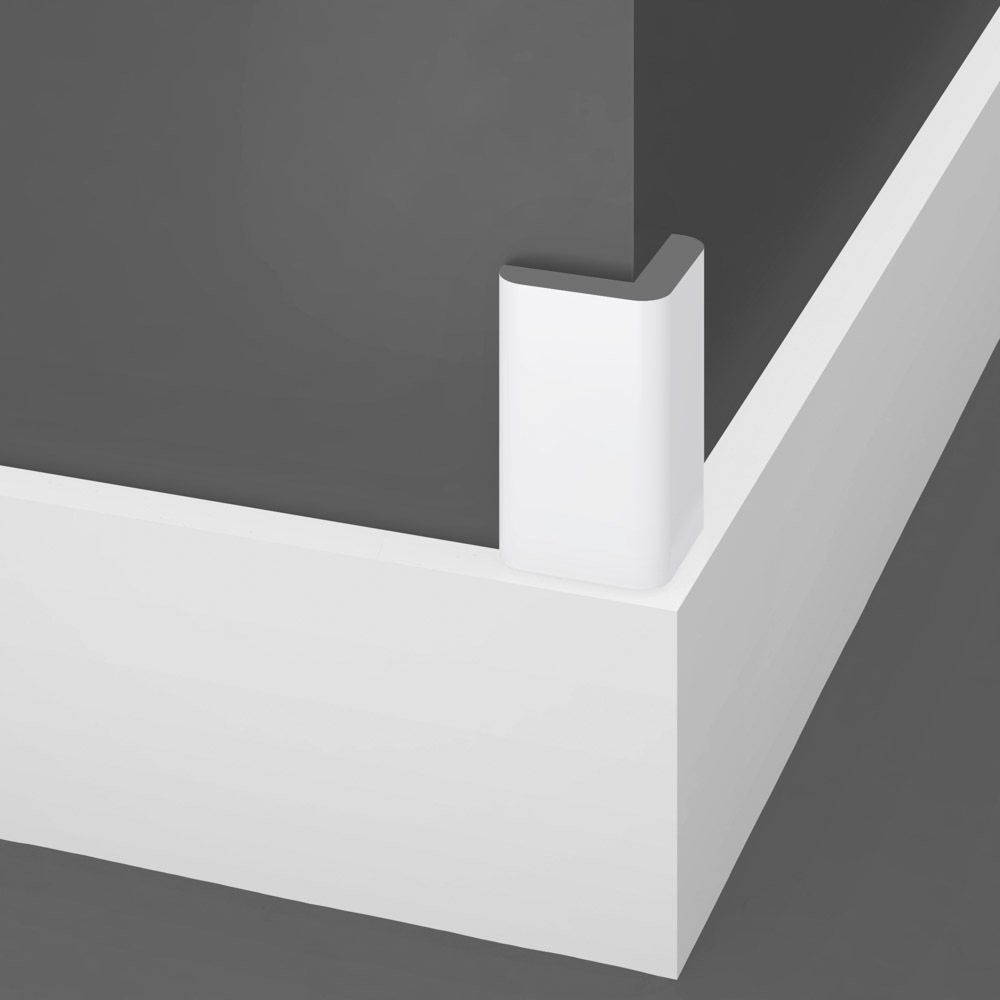
Baseboard

389
Crown

117
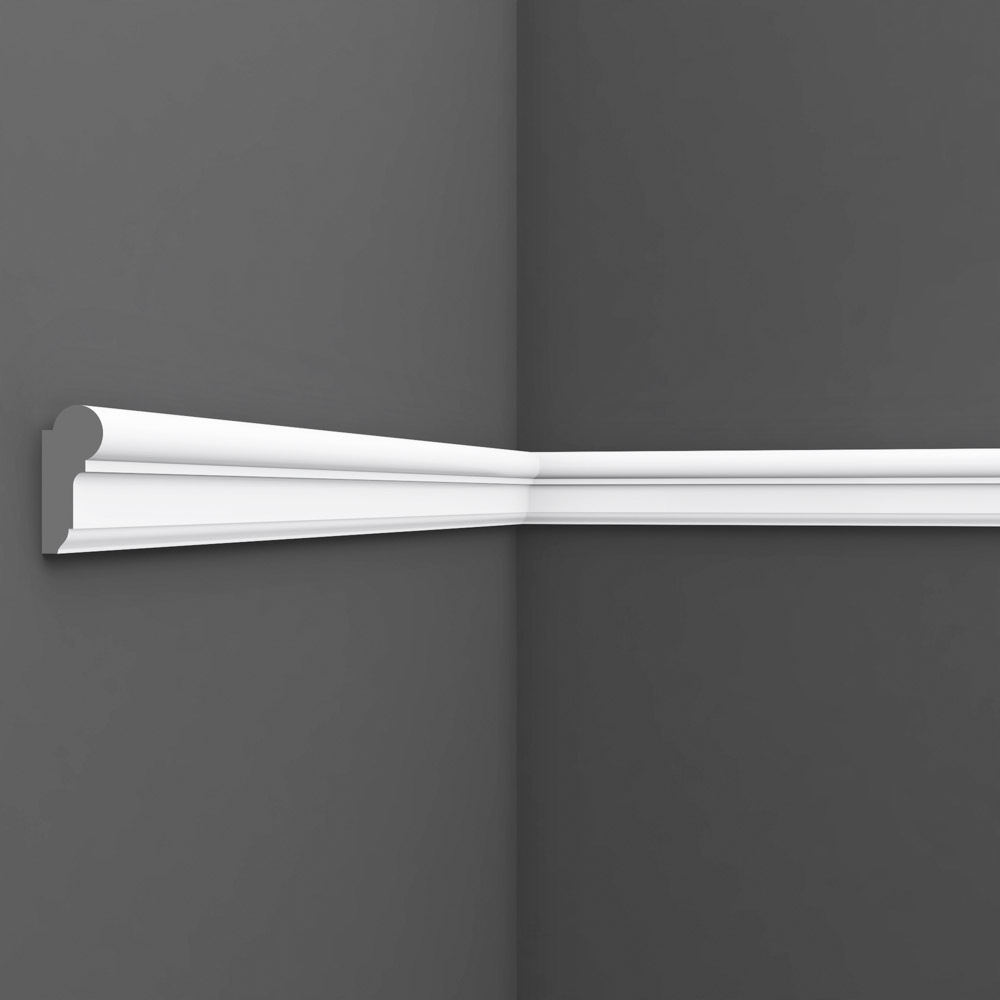
Chair Rail

76
Astragal

4
Bar Rail

33
Door Stop

9
Fillet

79
Handrail


34
Nosing

75
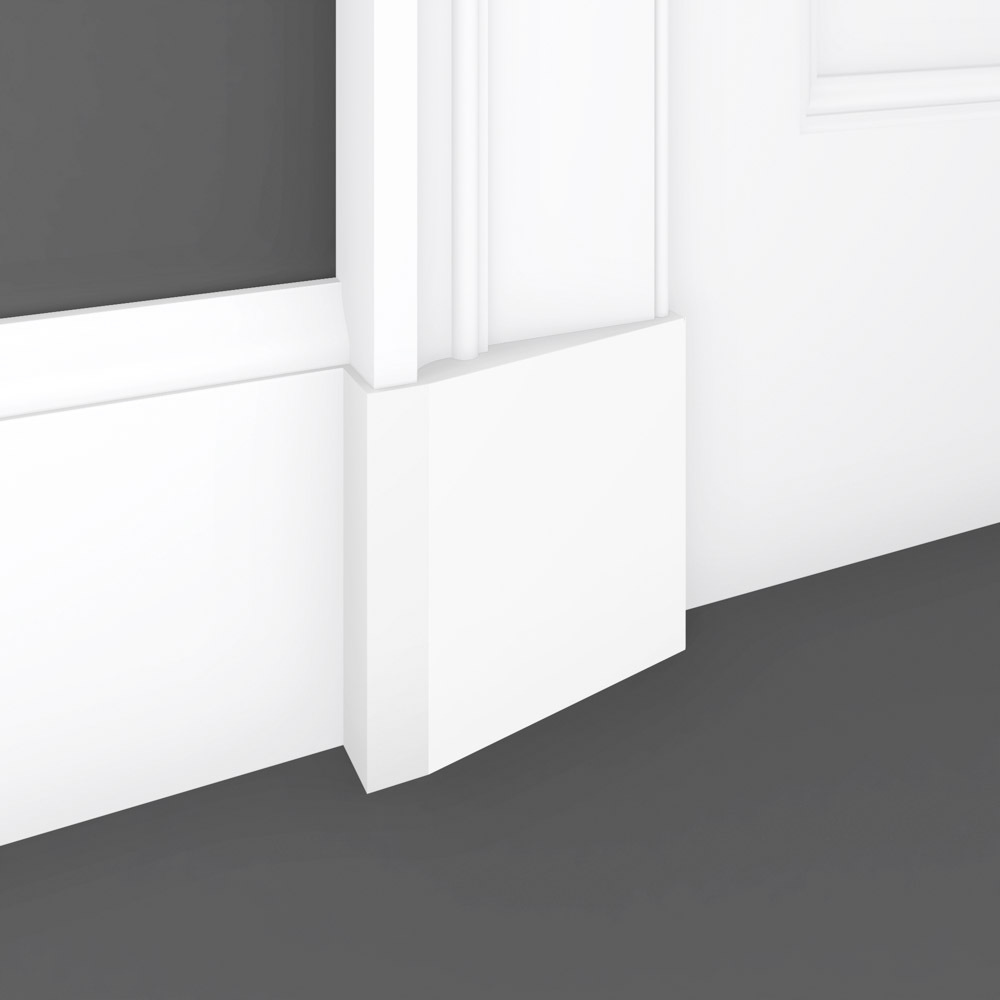
Plinth Block

62
Round

12
S4S


27
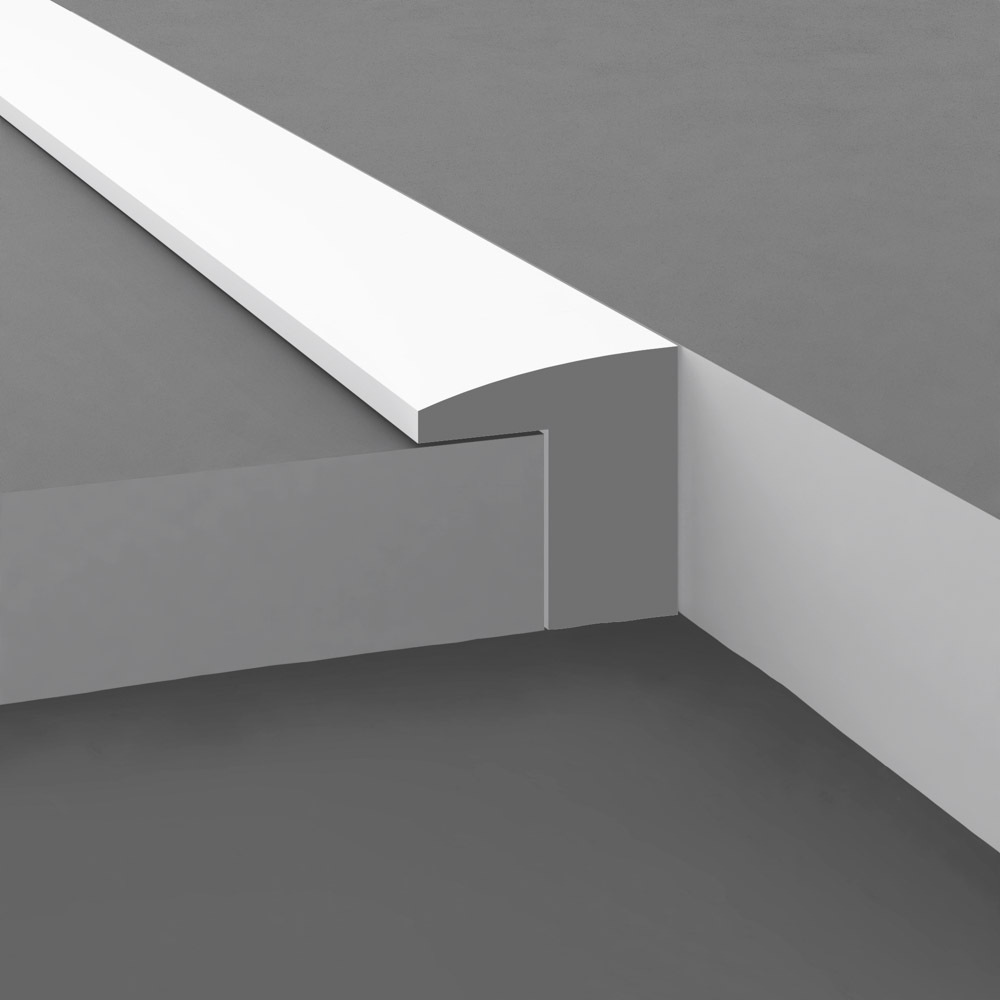
Shoe

8
Shoerail

181
Small Mouldings

32
Window Sill


Find the perfect match for any project with wood mouldings organized into trim packages tailored to any needs. Make installation at the next jobsite easy by browsing these categories, comparing proportions, and choosing the right wood moulding profiles to suit openings, ceilings, and wall details of all kinds. This hub also covers common wood moldings used across residential and commercial finish packages.
How to choose the right moulding category for a trim package
The first step to choosing a trim package is finding the right category to match the project. Window and door casing delivers the width and edge detail to accentuate openings, which makes it a good starting point. Baseboard moulding establishes the wall-to-floor transition and sets the baseline for proportioning the rest of the trim package. You can then coordinate crown and panel details to match, with sizes that fit the specific ceiling height and overall room proportions.
Crown molding profiles improve ceiling transitions and can be selected based on the room’s proportions and the desired shadow line. Deeper wood mouldings work better in taller spaces, while lighter profiles suit smaller rooms. Carefully confirm how you want the crown to terminate at corners, cabinets, and other fixtures before finalizing.
Panel moulding lets you create frames, wainscots, or wall breaks without having to change the base profile. Pair the base profile with base cap moulding or flat stock for a complete assembly. For build-ups, fillers, and returns, S4S lumber is the go-to option to achieve excellent results in any build or renovation. For multi-piece details and common built-up combinations, review moulding assemblies before finalizing profiles and takeoffs.
The right molding can greatly improve the impact of a room by emphasizing visual hierarchy. Whether drawing attention to openings, ceiling lines, or wall planes, molding selection can enhance overall project aesthetics. Plan carefully to avoid undersized trim in tall spaces or heavy builds in more compact rooms.
Materials, finishing, and profile coordination
Both appearance and finishing expectations rely heavily on material choice. Paint-grade trim package mouldings can deliver uniform color and crisp contours. Stain-intent options offer grain character and consistent tone for long runs. Always confirm before ordering to ensure the species and grade are available for your entire trim package.
The choice of wood species is just as crucial. Options like poplar and maple offer smooth faces and achieve predictable coating results. Cherry, oak, walnut, and mahogany can achieve stunning color with their defined grain. In other applications, pine and cedar can suit specific styles more affordably.
Reviewing samples under project lighting conditions can help you find the proper sheen, tone, and proportion. Sealers, stains, and clear coats achieve different effects based on application thickness, opening the door to many styles for interior trim mouldings. When working with existing trim, it may be possible to match materials, but it is often difficult.
Coordinating all of these factors is best handled by starting with a complete inventory of required trim and planned finishes. With so many options for species, grade, and profile available, knowing what the project calls for is essential. Trim packages make it easy to ensure consistency, no matter the scope of the project. For submittals and shop coordination, CAD downloads can help verify profile geometry before ordering.
When custom matching is the right move
Renovations, additions, and preservation work often call for matching existing trim. With enough attention to detail, this may be possible. Comparing physical samples and detailed measurements can help match the style, while achieving the same coating appearance in custom moulding and millwork will require some additional trial and error.
Frequently Asked Questions
What’s the best way to plan moldings for a full trim package?
Start by mapping the core profiles that repeat across the job, then use the shop mouldings hub to confirm category coverage and keep the trim package consistent across openings, ceilings, and wall details. That usually means casing for openings and base wood mouldings for wall transitions. From there, coordinate crown and panel elements to suit the foundation and maintain proportions. If you need to confirm scale, profile detail, or finish intent, free sample pieces are typically available directly from the relevant product pages before finalizing decisions.
Can I match existing profiles when only part of a property is being updated?
It’s often possible to match an existing profile during a partial renovation. Checking samples against measured references can help you confirm in advance. Keep in mind that coating layers, wear, and any prior repairs will influence the installed appearance. Even a very close match might not look right once installed.
What should I confirm before ordering moldings for multiple rooms?
Carefully double-check the dimensions and profile list for every room in a project. Ceiling height changes, inside vs. outside corners, and intersections are all key details to confirm. Make sure you’re choosing consistent species, grade, and finish intent across all of the different trim varieties you’ll need for the property.
Which wood options are commonly used for paint vs. stain finishes?
Paint-grade species like poplar and birch provide smooth faces and minimal grain presence under coatings to deliver consistent texture. Stain-intent species like oak and cherry have a steady tone and appealing grain pattern that can be highlighted rather than covered up. Availability depends on profile and size, so always confirm first.
How should I plan quantities for waste and on-site fitting?
It’s always best to err on the side of caution. Take extra length for miters, coping, joints, and jobsite adjustments into account in planning. When dealing with complex profiles and stain work, additional overage helps maintain continuity and reduce splice risk. Review all of the takeoffs, openings, and lengths to set waste allowances.