Tongue and Groove Ceiling Guide: Width, Profile & Wood Species
29th Sep 2026
To choose a tongue and groove ceiling, compare exposed face width, groove or reveal detail, wood species, and finish in relation to the room’s scale and adjoining trim. Mouldings One’s listed tongue and groove widths measure the exposed face, not the full board width including the tongue. Start by comparing available tongue and groove profiles, then use their drawings to check the dimensions and joint detail.
How board width and profile detail define the ceiling
The board width and profile detail you select will determine the repetition of lines across the ceiling and how each individual board reads. There’s no one-size-fits-all solution. Instead, making the right choice relies on evaluating visual rhythm and scale to align your selection with the specific room and existing trim.
Exposed face width
The first detail to consider is the exposed face, the visual width of the board after the tongue and groove pieces connect. It defines the finished surface each board will contribute to the ceiling, which differs from the overall board dimensions due to the tongue and groove overlapping.
You should also check the profile drawing when comparing exposed face width between options. This ensures you have a clear picture of any joint geometry that may affect proportions. Understanding how your selection will look when installed is paramount for accurate trim package planning.
Rhythm and seam frequency
The width will also define the rhythm and seam frequency. With a narrower exposed face, there will be more seams across the ceiling area. This creates a tighter rhythm. Wider options make individual boards more visible and reduce seam frequency, with a broader rhythm and a less segmented appearance. Some profiles also include additional beads or grooves across the face, so a wider board can still create a closely spaced visual pattern.
Both can be excellent options in different situations. In a smaller room, both narrow and wide boards can be used to achieve varying compositions. Larger uninterrupted ceilings can draw focus to seam spacing, so it's important to consider your choice carefully. Evaluate how repeated lines will relate to the room architecture and decor as a whole.
Matching the specific room
The overall size of a room isn’t the only detail to look at when choosing tongue and groove ceilings. Height, proportions, and beams also play a role. Other trim, like crown and wall paneling, can change how board spacing reads as well. You should always consider the entire finish package, not just the ceiling in isolation.
Profile depth and shadow lines will influence the perceived scale. With a strongly defined groove, boards will read more distinctly. Quieter joints can create the appearance of a more continuous ceiling surface. Also consider how the board direction and layout will work with beams, light fixtures, and perimeter trim.
Groove, reveal, and edge detail
Even with similar width, profiles can create very different patterns. Beaded tongue and groove, commonly called beadboard, features rounded bead details, while V-groove or V-joint profiles create a V-shaped line where adjoining boards meet. Other profiles use a subtler reveal or deeper groove, so compare the profile detail with the exposed face width when planning the finished ceiling pattern.
Thickness is another important product specification here. Compare the board thickness with adjoining beams and perimeter moulding so those transitions are planned as part of the same trim package. Even profiles with seemingly similar dimensions can look quite different, so review your options carefully before making a decision.
Comparing profile drawings
One of the best ways to evaluate your options is to look at profile drawings. Read the stated width and thickness alongside the drawing’s joint, edge, and reveal details. You’ll be able to see minor details and assess how they’ll read once installed on the ceiling surface. Physical samples are another option for comparing profile detail and wood character before making a selection.
Use Mouldings One’s CAD downloads when comparing profile geometry in a digital drawing. Review the individual product specifications alongside the drawing so the selected width, thickness, and joint detail stay together in the project notes.
Coordinating wood species, finish, and trim
The species and finish have just as much of an impact as the profile and width. There are countless options for grain, color, stain, and paint that could match your project. Compare Mouldings One’s wood species with the intended ceiling finish and adjoining millwork.
Wood species and character
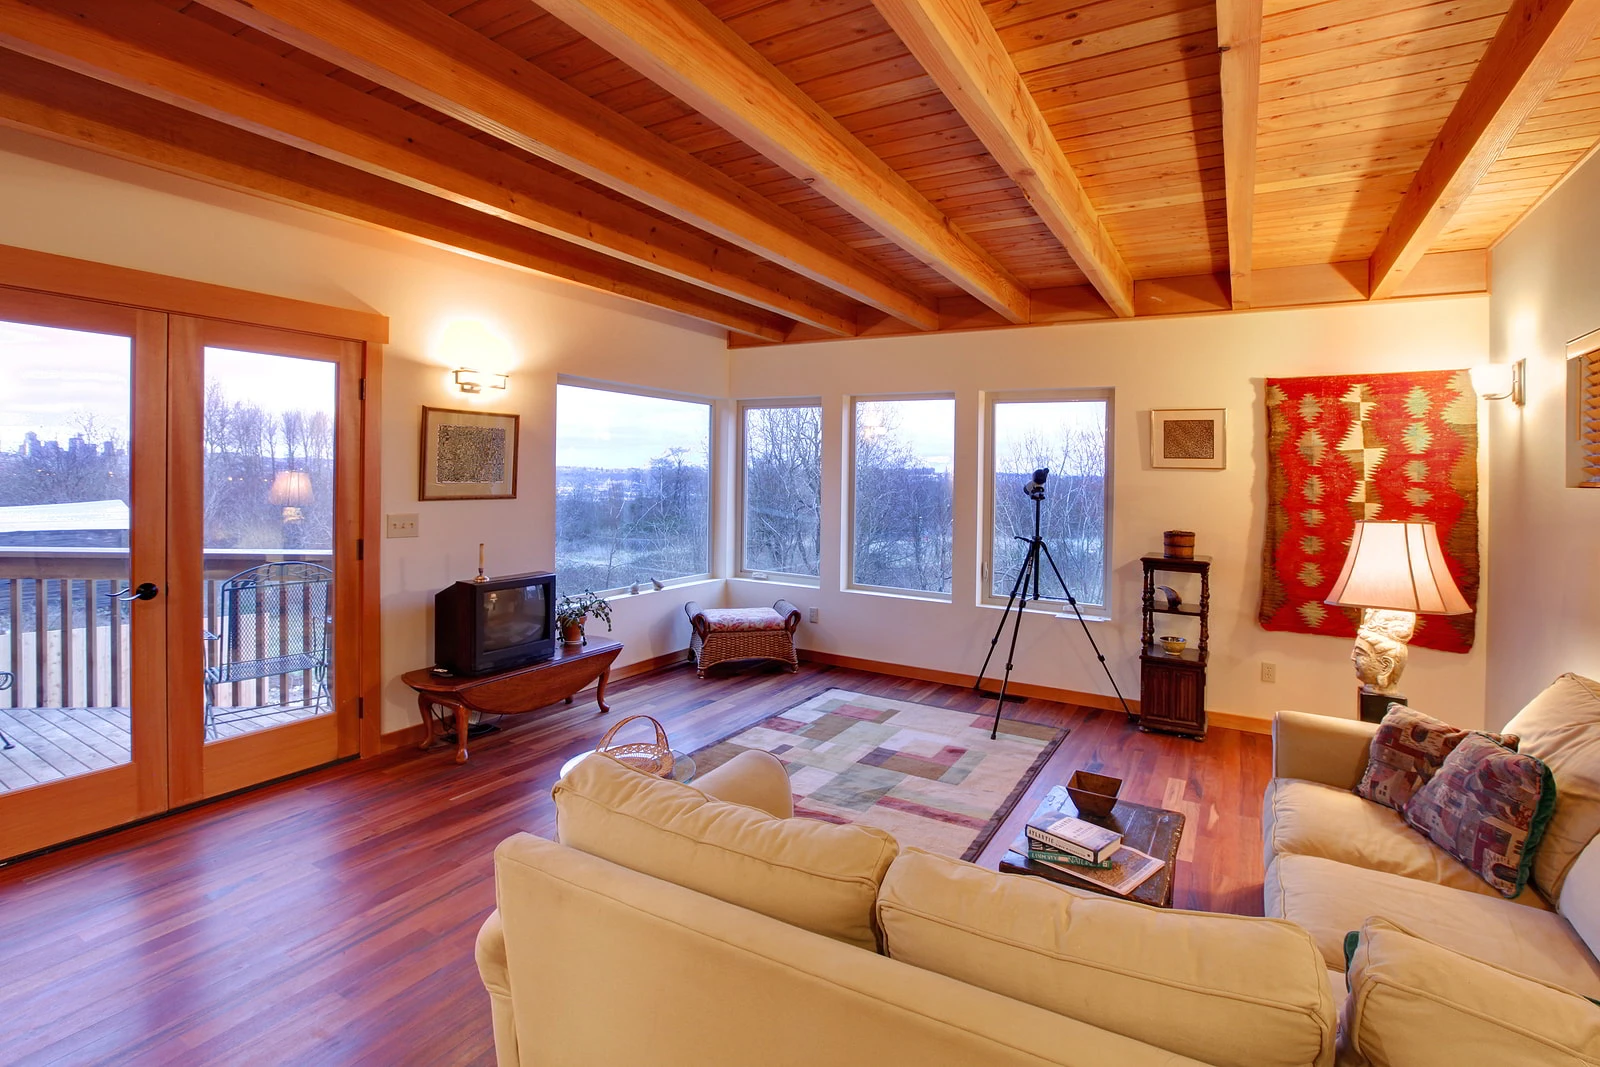
You can achieve varying grain patterns and color ranges and the visual appeal they bring with different wood species options. These differences are highly noticeable when wood spans the entire ceiling. Keep in mind that natural variation is amplified in this setting, which could be something to account for or just what your project needs.
Carefully consider the level of grain and color variation you want in your tongue and groove wood. Quieter species can deliver a more restrained appearance. Those with a pronounced grain will draw more attention in the room. Species should also be coordinated with surrounding materials.
Wood species options
Pine is one option for a tongue and groove ceiling. Mouldings One also offers oak, maple, walnut, poplar, and other wood species to coordinate with your intended finish and adjoining millwork.
Planning species and finish
Choose species and finish together. For stained or clear-coated ceilings, compare the wood’s natural color and grain. For a painted ceiling, focus on the surface texture and painted appearance you want, and confirm the species and finish combination with Mouldings One.
Ceilings with stained beams, painted crown, and features like cabinetry or wall paneling in the room should coordinate finish and species with those elements. You don’t necessarily need an exact match, but you want a coherent overall palette where contrast, if present, is deliberate. Review Mouldings One’s primed and prefinished options when deciding how the ceiling boards and adjoining trim will be finished.
Coordinating with surrounding millwork
Look closely at crown molding, beams, casing, and built-in details in the room. The scale of this millwork can alter how the ceiling profile reads. This is particularly important where boards terminate against a beam or perimeter molding.
In many cases, you may need to go with the same species but different profiles in various parts of a project. When the adjoining trim package changes, adapt the width and groove character to suit that specific room. Maintaining the same species and finish throughout can be enough to maintain the visual style of the overall project.
Preparing project specifications before ordering
Before placing your order, take some time to evaluate your trim package and ensure it aligns with your project needs. Double-check the width, thickness, and profile. For tongue & groove ceilings, look at the profile drawing so that you fully understand how the groove and reveal will appear.
Confirm that the intended species and finish align with other trim, such as crown, casing, or wall paneling. Evaluate how ceiling boards will interact with perimeter molding, beams, and other fixtures.
Record the ceiling area, board direction, interruptions such as beams, required lengths, and estimated quantity before requesting a quote. Use the selected profile’s exposed face width when reviewing coverage, and have the quantities and any allowance for cuts checked against the actual layout.
Many Mouldings One tongue and groove profiles can be modified to a requested exposed face width. Availability depends on the profile and dimensions, so include the profile number and desired face width when requesting review.
When planning renovations or restorations, you may require a profile that isn’t available as a standard option. Mouldings One’s custom moulding service can review drawings, dimensions, or a physical sample when an available profile doesn’t match the existing millwork. You can get a custom quote to find out whether a match for your project is possible.
Finding the right tongue and groove profile for your project
Compare available tongue and groove profiles and their drawings to narrow the options for your ceiling. For profile matching or help coordinating the millwork package, request a quote with the profile information and project details.
Frequently asked questions
What tongue and groove width works best for a ceiling?
There is no single best width; instead, you must consider how the exposed face, room scale, profile character, and other factors contribute to your unique project.
Is tongue and groove width the full board width or the exposed face?
When browsing Mouldings One profiles, the tongue and groove width refers to the exposed face. You can see profile drawings for exact dimensions and geometry.
What wood species can I use for a tongue and groove ceiling?
Many species are available with varying grain, color, and finish properties, such as pine, oak, maple, and more.
Can a tongue and groove profile be matched to existing millwork?
Yes. Mouldings One offers custom profile matching for renovations and restorations. Provide a sample, drawing, or dimensions so the team can review the existing profile.