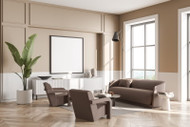
Panel moulding layout guide: Spacing, reveals, and quantity planning for wall frames and wainscot
27th May 2026
Achieving balanced panel moulding should start with a well-planned layout, not just profile selection. Your plan should account for width, ceiling height, and other trim like casing and baseboards. Outlets, switches, and fixed features must also be considered. Here’s what you should know about planning to achieve coordinated wall frames.
Evaluating room and wall conditions
When planning your layout, each wall should be treated as a unique surface. Measure the full width and height for each. You’ll also need to measure any existing baseboards, casing, doors, and windows. Mark the location of switches, outlets, vents, and other permanent features.
Frame sizing depends largely on ceiling height and room scale. Taller interiors can be filled out with larger panels and wide reveals. Stronger, detailed profiles also help improve visual weight. Smaller spaces benefit from narrower frames and lighter molding. This also avoids competing with other trim.
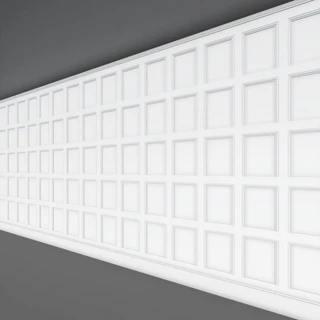
You should also consider how uninterrupted walls and those broken by openings will affect the panel moulding layout. You can fit many repeated, equal frames into a long wall run. Narrower sections may need adjusted dimensions to account for doorways and other openings. You want a steady visual rhythm, not an exact formula.
Plan the panel layout before moving on to profile selection. Getting the layout in proper proportion to wall height, other trim, and interruptions is vital to achieving consistent architecture. You want your project’s panel moulding, whether new construction or a renovation, to look intentional instead of an afterthought.
Special care is required for door and window casing. They establish visual boundaries within wall runs. Frames that run too close to a casing or corner will look compressed, even if they technically fit. Reducing the number of frames or centering a single frame on a shorter wall is often a better choice. The reveal will look more deliberate.
Spacing, reveals, and proportions
The reveal is the open wall surface left between a frame and the nearest trim or boundary. You’ll find reveals beside casing, above baseboards, below chair rails, near corners, and in between adjacent frames. You can make your space read as planned rather than improvised by implementing consistent reveals throughout.
To strike the right balance, the reveal around panel moulding should relate to the rest of the trim package. Sitting too close to a casing or wall makes the reveal feel pinched. On the other hand, floating too far from the baseboard or chair rail makes the detail feel disconnected.
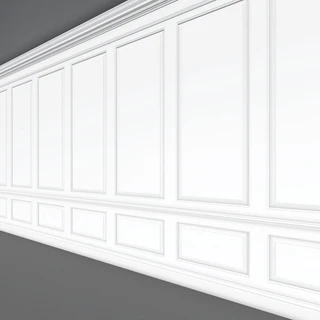
Equal frames work well with uninterrupted wall runs, establishing a steady rhythm of frame and reveal. Doors, windows, built-ins, and corners can disrupt this rhythm and require adjustment. You’re typically better off adjusting frames to keep reveals even. On a narrow wall, a centered frame can appear to be more balanced.
Your wall moulding spacing should be planned to avoid any awkward leftovers. A layout that leaves just one thin end panel can be adjusted by revising spacing across the entire wall. These small adjustments are less noticeable than one compressed frame, as they are evenly distributed across several frames.
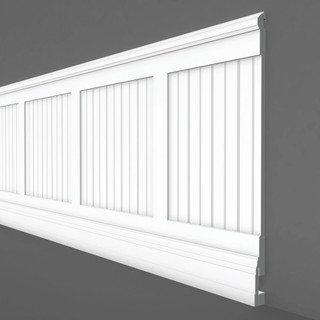
If you’re going with wainscot paneling, both horizontal and vertical relationships must be carefully considered. You want the frame, baseboard, chair rail, and reveal on all sides to appear as a cohesive system. In many cases, a more restrained panel field is better, depending on ceiling height and casing placement.
Symmetry is important in any panel moulding plan. However, you can’t rely on measurements alone. Judge symmetry from normal sightlines. You should also consider how to center the layout. A fireplace, main entry, opening, or other feature could justify centering the layout there before dividing the remaining wall space.
Choosing profile scale and coordination
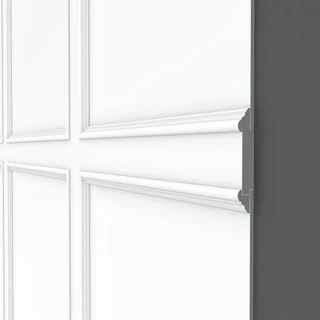
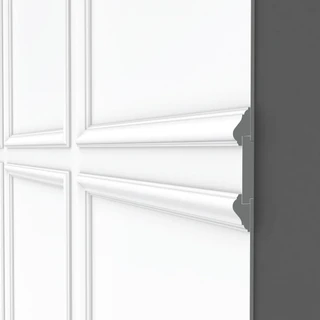
Once you have the general layout planned, you can move on to profile selection. It’s important to envision how a panel moulding profile will look in place. It’s easy to look at a sample and not realize just how heavy it will come across on wall frames. The width and projection must be carefully evaluated against the overall project interior.
If you’re trying to achieve a more formal presence, wider or deeper panel moulding can deliver stronger shadow lines. Slimmer profiles provide an ideal option for tighter spacing, narrower frames, and cleaner trim packages. You want the shape to have enough definition to register on the wall but not overpower other details.
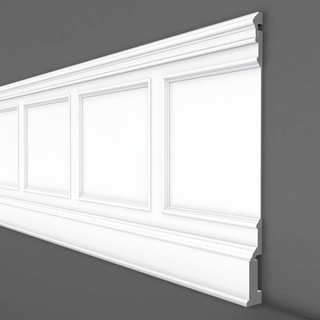
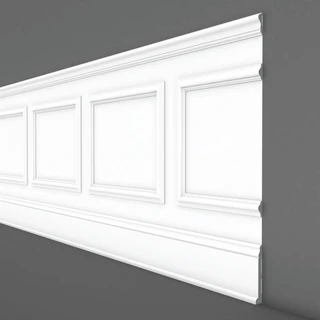
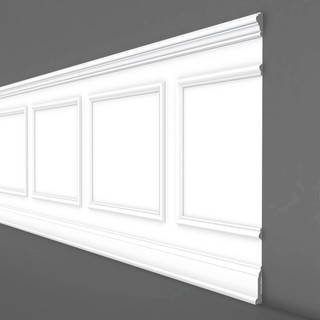
Base cap moulding can finish the top edge of a baseboard or support a larger wall-panel assembly when the scale works with the surrounding trim. A baseboard that needs more of a finished top edge or built-up appearance will benefit here. However, you also need to balance the base cap profile with the wall frame that defines the panel field.
Wall frame moulding should coordinate with the surrounding finish package. You don’t need a perfect match for existing casing, backband, baseboards, or crown. Instead, achieving balance with scale, projection, and detail should be your overall objective. This gives the finished wall the appearance of deliberate planning.
You can find a wide range of profiles available to move your planning from general proportions to specifics. The shapes, species, and finish considerations can be tailored to suit your specific project. Custom quotes are a great option when trying to match existing trim for renovations and restorations.
Choosing your decorative wall trim profile too early in the process can impact layout planning. You want the shape to support the layout instead of driving it. Starting from established wall divisions, you can better compare your options to find the right width, depth, shadow, and overall interior compatibility.
Planning quantity and dimensions before ordering
When placing your order, you’ll need to get the quantity and dimensions of your trim right to ensure a smooth project. Once the layout is firmly in place, you can add up the number of pieces required. Make sure to account for each wall and all openings, casing, baseboards, rail or cap height, corners, and fixtures like outlets and switches.
Pay close attention to the number of repeating frames and those that require adjusted proportions. You can estimate the linear footage for each frame by adding the two vertical sides and two horizontal sides, then multiplying that total by the number of repeated frames. Multiplying by the number of repeated frames of the same size will simplify calculations, but make sure you aren’t overlooking any modifications.
Your order should also account for miters, cuts, waste, and possible layout refinements. Having additional material available can save you a lot of trouble during a project. Even small changes in reveal or frame size implemented during installation can change the amount of material required, especially when applied across a full room.
Carefully confirm profile width, projection, lengths, species, and finishing needs before ordering. Once you’ve planned the layout, you can browse Mouldings One panel moulding and base cap profiles to compare width, projection, and profile detail. For custom matching, larger trim packages, or complex restoration conditions, request a quote so the profile, species, dimensions, and finish goals can be reviewed together.
FAQs
How far apart should panel moulding frames be?
The spacing of panel moulding frames depends on the specific wall width, ceiling height, trim scale, and desired reveal. It’s not about a single fixed distance but, instead, fully accounting for room conditions.
How do I calculate how much panel moulding I need?
Start by sketching each wall independently and counting every frame. Add the required height and width for all four sides and multiply by the number of repeated frames. Don’t forget additional material for cuts, miters, and adjustments.
Should panel moulding match the baseboard and casing?
You don’t need an exact match but should coordinate panel moulding with the baseboard and casing scale and profiles. Accounting for the finish, projection, and shadow line will let you achieve a visually consistent trim package.
Can base cap moulding be used with wall frames or wainscot?
Yes, depending on your assembly. Base cap moulding can finish a baseboard or wall-panel system. Keep proportion, shadow, and visual balance in mind for the overall frame profile.